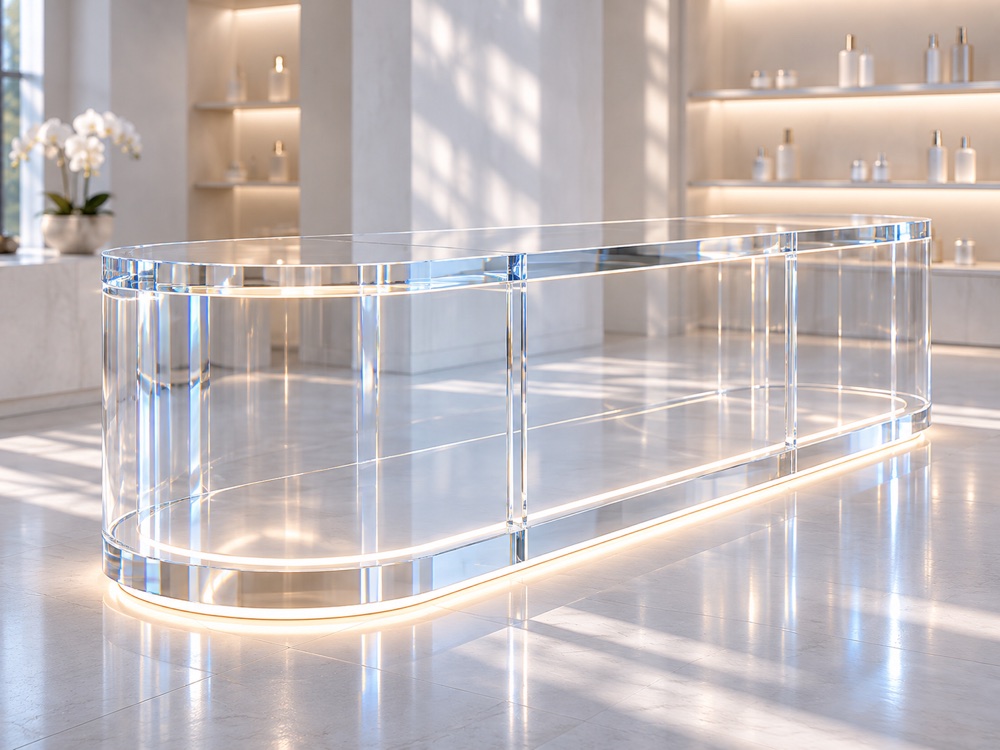
A premium acrylic counter or showcase should be planned around the product, the viewer and the people maintaining the space. Transparency alone does not create a successful display. Lighting, reflections, access, joint placement and delivery constraints all affect the finished result. This guide helps designers and buyers turn a visual concept into a coordinated brief without claiming that an attractive rendering is ready for manufacture.
Start with the objects and viewing experience
Describe what will be displayed, how it is arranged and the distances from which customers will view it. Identify whether visitors will look through a surface, see it against a bright background or inspect a polished edge closely. Include the surrounding finishes and lighting concept. A transparent feature in a quiet showroom can look very different in a busy retail environment.
Provide representative objects or accurate dimensions for the design review. Ask who will change the display and how frequently. If valuable or sensitive objects are involved, involve the responsible conservation or security specialist; ordinary acrylic fabrication should not be assumed to meet conservation, anti-theft or protective requirements.
Coordinate acrylic geometry with the counter system
Draw the complete assembly, including bases, supports, shelves, access panels, hardware and adjacent furniture. Mark which elements support weight and identify who verifies the load path. Acrylic thickness chosen from a photograph is not a structural specification. Obtain qualified review where loads, visitor contact or installation conditions make it necessary.
For curved counters, agree the transition between curved and flat parts and the intended seam locations. Ask the fabricator to review realistic component sizes, access for finishing and the assembly sequence. A carefully resolved joint may be preferable to a continuous component that cannot enter the building or be replaced economically.
Review lighting in a representative sample
Provide the proposed light source, its position and any mounting or service interface. Evaluate the sample with the actual lighting arrangement where possible. Decide what should be visible: a crisp edge, a softly illuminated surface or the product beyond the enclosure. Record the intended effect rather than using “luxury lighting” as the only acceptance description.
Coordinate heat, electrical safety and access with the responsible lighting and electrical suppliers. A transparent cover should not obstruct servicing or conceal an unresolved equipment issue. Approval of optical appearance is separate from approval of the electrical installation.
Make optical acceptance specific
Identify the most visible surfaces and edges. Agree viewing conditions for inspecting joints, reflections and finish. A small flat material swatch can help with basic appearance, but it does not represent a full counter with curves, joints and lighting. Request a representative corner or junction where those details are important.
Label the approved sample with its material and drawing revision. State whether it approves the material, a particular finish or a complete assembly detail. If the supplier proposes a different grade or production route later, review the relevant documentation and samples again rather than assuming the approval transfers automatically.
Design access and care into daily operation
Check how staff will open panels, reposition products and reach internal surfaces. Identify removable parts and a suitable place to handle them. Ask the supplier for maintenance guidance covering the whole assembly, including adhesives, coatings and hardware. Provide that guidance to the staff or cleaning contractor who will actually use it.
Do not assume every cleaner used elsewhere in the shop is appropriate. Match the proposed maintenance products to the actual materials and the manufacturer's instructions. If a surface or joint changes appearance, seek an assessment before attempting an improvised polishing or solvent treatment.
Resolve delivery before production release
Confirm the route through doors, corridors and lifts and identify permitted installation periods. Agree packaging, temporary storage, unloading and responsibility for inspection at each handover. For an occupied retail location, coordinate with other trades so the finished surfaces are not exposed to uncontrolled late work.
Discuss replacement and future layout changes. A modular assembly may offer useful flexibility, but its joints and interfaces need deliberate design. Record spare components and material identification where appropriate so future work does not rely only on a photograph.
Prepare a display-project enquiry
- Product dimensions, display layout and intended viewing conditions.
- Current drawings showing supports, seams, access and adjacent finishes.
- Lighting concept and responsibility for electrical interfaces.
- Representative sample and appearance acceptance requirements.
- Cleaning routine, replacement strategy and servicing access.
- Verified delivery route, installation programme and handover responsibilities.
Use this checklist to identify the design questions that need answering, not to replace qualified structural, electrical or specialist conservation advice. A useful proposal makes its assumptions explicit and connects appearance decisions to practical fabrication and operation.
References
Manufacturer background: ACRYLITE joint fabrication guidance and PLEXIGLAS care guidance. Product-specific documents do not certify a finished display assembly.
Related guides
- Acrylic Bonding and Finishing: Planning for Visual Quality
- Planning Large-Scale Custom Acrylic Projects
- Acrylic Material Selection: A Practical Guide for Custom Projects
Have a project brief ready? Discuss your custom acrylic project. This editorial guide does not establish product certification or replace application-specific professional review.